Skills Series: Creating Educational Resources

- Creating Educational Resources
- Lesson Planning
- Creating A Training Program

What is an educational resource?
The term “educational resource” is a pretty broad term but relates to any material that can be used to help teach about a concept, idea or place. An educational resource can take many formats from a workbook, flashcards, worksheets or powerpoint. Many different organisations will create educational resources; obviously teachers use them everyday, but tourist attractions etc may also use them to help engage children and improve their understanding of the place they are visiting. Creating your own educational resource can be a really good way of ensuring that it matches your/ your organisation’s specific needs and requirements.
How to create an educational resource?
Writing an educational resource for children, teenagers or adults may seem like a daunting task but this guide will help you to create worthwhile and engaging resources. Remember that you will have been exposed to LOADS of educational resources over your lifetime so think about these and consider what worked well and which ones you particularly enjoyed.
Step 1: Who is your target audience?
First of all you need to think about who the resource is for, this will affect the tone you use, the content you cover and the activities you include. Consider the age of your audience and therefore what they are likely to already know/what education they will have received. Design your resources accordingly so that they are accessible to your target audience but also educational.
Some questions to consider:
- What is their socio-economic background likely to be and how may this impact their experience with this resource?
- What is their educational background likely to be?
- If your target audience is families, do you want to target just one age category within that family or try to cater to several age groups within a family unit?
- If children are your target audience, what specific age group(s) are you targeting?
- Are they first time or repeat visitors?
- If you are catering to one type of audience, how will you ensure that that audience does not disrupt the enjoyment of a place of another type of audience?
Step 2: What is the main aim of the resource?
The arguably most important thing to consider is what are you trying to achieve with this resource? If this resource is to be used in schools, consider how you can link it to the national curriculum or wider learning objectives. The aim of an educational resource can vary greatly. For example if it is to be used at a tourist attraction, the main aim may be for children to have fun or encourage them to make a return visit. Educational resources can also be used to help challenge perceptions that the learners may already have. If the main aim of your resource is for educational purposes, consider how you can use it to build connections with other key concepts or skills as this is shown to be the most effective way for children to learn.
Step 3: Consider what resources and materials are available to help deliver this resource
This will be highly dependent on the setting in which the resource will be delivered. If it is for use within a school consider what materials will realistically be available e.g. colouring pencils, rugby balls etc. (Tip: educational provisions vary greatly across Fiji and therefore if you are planning to include specific resources, it may be worth also providing an alternative activity in case these are not available). If the resource will be used in a tourist attraction, consider what resources will be available there.
Step 4: What content do you want to include in your resource?
Now is the chance for you to draw together all of the groundwork you have already done. Consider the aim of your resource and the way it will link to the wider educational context to help you determine the theme of your resource. What information and activities are you going to include in order to cover this theme in an engaging way? During this step, it is good to continually refer to the educational curriculum or the learning objectives you have set to ensure that your resource remains focused on delivering these. Now is also the time for you to carry out any research that you need to do on this topic, just because you are not an expert now doesn’t mean you can’t become one! As you are doing your research, ensure that you use reputable websites and resources as you do not want to be sharing inaccurate information!
Some questions to consider:
- Do you want to convey any particular educational messages in your resource? What do you think will be the best way to do this?
- Do you need to do any research in order to write educational, informative and fun content which is accurate?
Step 5: Consider how long you want the resource to take to complete
This is a very important consideration and will determine how many activities/ how much information you are able to include. A resource could be a workbook that can be returned to over a number of weeks or could be a quiz that only takes 30 minutes to complete. The main thing you need to consider is how the resource will be used and where.
Some questions to consider:
- Do you want the learner to complete the resource in one visit or over a course of several visits?
- How long do you want the learner to spend on the resource each time they use it?
Step 6: What activities are you going to include in your resource?
Examples of activities could include writing, drawing, verbal discussion, interactive live or online demonstrations, collecting clues to crack a code (e.g. letters, pictures), matching or pairing exercises, colouring-in activities, fill in the gaps or tick box exercises. Consider the appropriate difficulty for the activities, you will want them to challenge the learner but don’t make them so hard that it feels unachievable. Make sure any information you include is presented in an enjoyable way rather than just large chunks of text to read.
Use your own ideas to create fun and engaging activities but don’t be afraid to also use activities that have already been created. TedEd can be a good way to find bitesize information on a number of different topics: (TED-Ed: Lessons Worth Sharing). There are loads of Open Educational Resources (OERs) that can be copied, adapted, used and reshared by anyone. (This website, although quite US-focused, provides more information about OERs and how to access them Open Educational Resources (OER): Resource Roundup). This is also a good time to consider what software you will use to build your resource and activities; you can use traditional software like Word and Powerpoint but there are also many other free resources available that may help to create more professional looking resources. Canva provides a free service to help create visually appealing worksheets, flashcards, board games, infographics and posters etc – Canva – Create Worksheets. This website also provides a number of different templates for resources such as flashcards and bingo cards: http://www.mrshenryinfirst.com/httpswwwinstagramcommrshenryinfirst/customize-your-own-teaching-resources.
This website provides signposts to more software: 5 free tools to create your own teaching resources
Some questions to consider:
- Do you want the activities to relate directly to things they can see, hear, touch or smell at the place they are visiting?
- What level of difficulty do you want the activities to be?
- How much knowledge will you assume?
- What level of vocabulary will you use?
- What tone of voice will you use?
- What level of motor, verbal, written and cognitive skills is your audience likely to have?


Step 7: In what format do you want to present the resource?
This will often be dependent on the resources and budget available.
- Will the resource be printed or available online? If online, will it be available to download?
- Will the resource be self-led or directed by a facilitator? If it is self-led, how much explanation will the resource need before they begin? Who will deliver this explanation and how?
- If it is a printed resource, what size of paper do you want it to be printed on? (e.g. A4, A3, folded booklet) What type of paper do you think it should be printed on? (e.g. thickness, recycled or non-recycled?)
Step 8: Design your resource
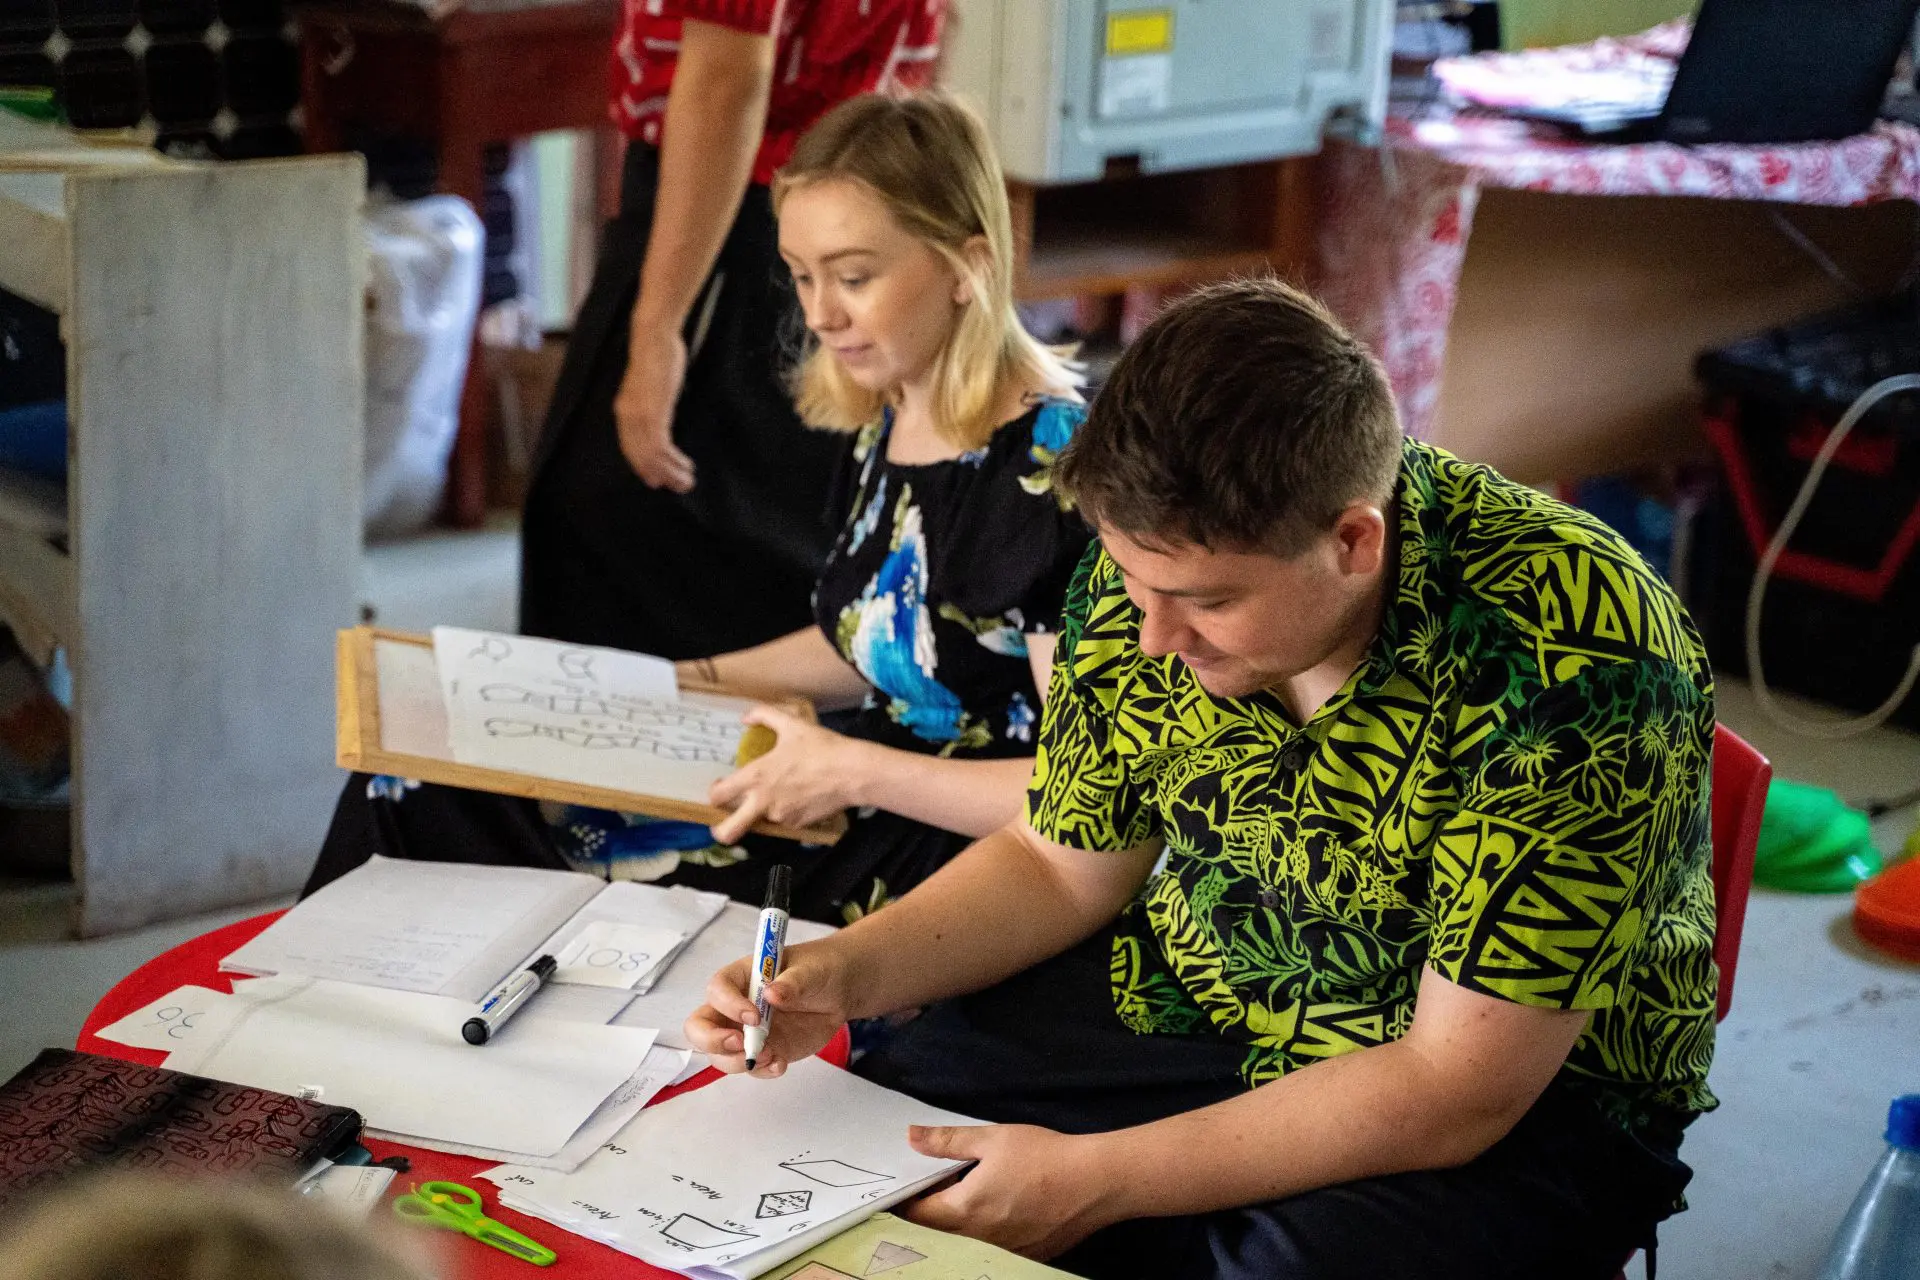
Now is the time to make your resource pretty. Consider your audience and their age as this will affect the size and type of font that you use. It can be a good idea to include short paragraphs and bullet points along with lots of pictures to help break up the text and make the resource more accessible. Also think about colour schemes (you may choose to use the colour schemes that the organisation uses for other materials). Remember to keep the design simple, engaging and consistent.

Pictures and easy to read fonts are really important

Note the use of short paragraphs and pictures
Step 9: Consider your budget
You need to consider the budget available all the way through this process but once you reach the end of your creation, reconsider it and ensure that it will not be too expensive to run.
How much budget do you have to spend on printing, interactive activities, pencils, prizes or any other resources you may need to deliver the resources successfully?
Step 10: Evaluate
Once you have finished making your resource(s) it is a good idea to evaluate them. In a workplace setting, this may involve getting a group of children/a class to use them and you can then consider whether the resource is effective at teaching the desired aim and whether it is practical to be used. However, for the purpose of your internship, this may not be possible so instead get a friend/family member to try out the resource and give you feedback. Use this feedback to alter your resource and make it as good as it possibly can be.
- A good resource is accurate – this may seem obvious but you do not want to provide any incorrect information. Also consider the terms your learners may be used to using and try to be consistent with this wherever possible in order to avoid confusion.
- A good resource is useful – your resource should contribute to wider learning objectives and not just be a time-filling activity!
- A good resource is efficient – consider the amount of time associated with the activities and ensure that children will learn enough from it to warrant this time.
- A good resource is relevant – your resource should be framed in the wider context and help to show the connections between other ideas or resources.
More information about this can be found at: What makes a good teaching resource? | Opinion | RSC Education
Some Key Principles
The New Zealand Government provides these 8 key principles which should be followed and considered when creating an educational resource. Don’t worry about meeting all 8 requirements as often that is not realistic but they are all worth considering.

More information about each of the 8 principles and key things to consider can be found here.
For information check out A 7-Step Guide to Creating Your Own Open Educational Resources.
What is a Lesson Plan?
A lesson plan is a structured plan of what will be included in a lesson and in what order. A good lesson plan helps ensure that lessons are as effective as possible.
Check out this video to see a breakdown of the different steps that could be in your lesson plan!
Understand the students
Consider the age of the students and what they will already know. How can you build on their knowledge? It is also worth considering the different learning styles apparent in children and adults, try to incorporate activities that help different students. For more information about different learning styles: Learning Styles, 4 Types of Learning Styles: How to Accommodate a Diverse Group of Students. Take this quiz if you want to find out what learning style suits you best!
Set your learning objectives
These are the broad goals of what a student will be able to do upon completion of a course.

Write objectives for that lesson
What key part of the learning objective will you focus on in this lesson? For example this could be the ability to solve simple algebraic equations. The aim for the lesson is arguably the most important part, don’t just try to make a good activity fit as this is backwards and won’t be as effective for the students.
For more information about creating a lesson objective check out: Writing Measurable Learning Objectives – Teach Online and What Are Learning Objectives?

Procedures for delivering the information
Think of the lesson as having a beginning, middle and end. It can be a good idea to include:
- A warm up activity – this may review useful information that has been looked at before.
- A short introduction to what the lesson will be about – you are trying to excite the children here so that they want to learn.
- Present the information – this is often a teacher talking but try to include some sort of interaction here such as asking questions.
- Student practice – set an activity/activities that allows the children to practice the skill they have just been taught.
- Summarise what has been learnt.
Here are some good examples of activities to include in a lesson:
Activities to add to the beginning, middle and end of your lesson plan
20 interactive teaching activities for in the interactive classroom
Plan your timeline for the lesson
This is a chance for you to think about how much time is going to be needed in each section of the lesson. Remember though that learning is dynamic and therefore may not always follow this perfectly but use it to guide you.
Materials
What materials will be required in order to carry out your planned activities? This includes pens, paper, homemade resources, technology, balls etc.
Sequence
Consider the place of this lesson within the larger curriculum or the rest of the week. How can the skills learnt be built on further in the next lesson?
Example lesson plans
Lesson plan templates
6 lesson plan examples for elementary school
Lesson Plan – Lesson Plan How To, Examples, and More
Sources and further resources
Lesson Planning For Trainee Teachers

A training program is a collection of resources used to equip people with a certain set of skills or knowledge. A training program is about more than merely just providing a load of information; all of the resources should come together to provide a well-structured course.
Many organisations use training programs to train new members of staff/volunteers, develop skills in their current workforce or refresh key information.
The idea of creating a training program may be quite daunting but if you use this guide as a framework, you will be able to create a well-thought out and useful program easily. Don’t worry about following the steps too closely though, use them as guidance and don’t be afraid to develop and change them for your own/ your organisation’s needs.
Things to consider before creating your program
Don’t just launch into creating your program, a bit of time spent planning will ensure you can create a much better program.
You need to conduct an assessment to work out what goals your training will support. There are 3 key goals you need to consider:
- Business/charity goal – what is the organisation hoping to achieve? You need to consider the organisation’s long term aims and goals for this program. (For example: Improve customer service satisfaction).
- Training goal – what skills or information do the employees/volunteers need in order to achieve the business goal? (For example: Make customer service workers more knowledgeable about support).
- Learning objectives – what will the employees/volunteers need to learn in order to have the skills they need? (For example: workers will be able to answer the 20 most asked customer questions).
When carrying out this assessment it can be a good idea to consider the current situation and the desired outcome and then work out what is needed to achieve this. Think of your program as the cog that can connect the two together. This website provides more guidance about carrying out a Training Needs Assessment.
At this time it can also be worth considering what your learners already know so that you can build on this knowledge rather than wasting their time by repeating it.
As obvious as it sounds, it is important to remember that adults learn in a different way to children and you need to keep this in mind as you create your training program. All of the employees/volunteers will have their own skills, experience and previous training so consider this and don’t patronise them. You can also encourage them to draw on these previous life experiences.
Also consider the fact that people all learn in different ways so try to include different learning styles in your training. This website has a lot more information about different learning styles.
This links to step one but once you have done your groundwork, you will need to identify a set of clear learning objectives that your program will cover. These objectives could be addressing knowledge e.g. things that the learners should know, skills they should have or attitudes to follow. When creating these objectives, ensure they are SMART (specific, measurable, achievable, relevant and timely). These objectives will help you to structure your program.
Again, planning is essential here and the order of the information you present is very important, for example, context sections need to be presented first. This website suggests following these steps:
- Make a list of the learning objectives of the program (you should have these ready by the time you reach this step).
- Develop a training plan that outlines in detail how training will be conducted. This includes the training program schedule, key learning objectives and a list of the available resources/ resources you need to create.
- Estimate the time required for each learning objective.
- List the training materials that you will need for each objective e.g. videos, images etc.
- Divide individual learning objectives into separate modules. Write the purpose of the module, the learning activities they will be engaged in and what the learner will be able to achieve after the completion of each module.
When you are planning your materials, it can be a really good idea to split your program into little chunks to stop the learner feeling too overwhelmed (some good information about this here: How to Chunk Training Materials). You could split this up using a topical outline such as the one below:

Do a bit of googling here to find out what resources are already available online that suit the topics you are trying to cover. There is no point in reinventing the wheel so feel free to use online resources as long as there are no copyright issues!
This is what it has all been building up to, your chance to actually create your materials! Follow your plan through carefully and ensure you create all your resources in a sensible order so as to avoid unnecessary repetition.
How will you create your materials?
There is a lot of different software to consider from things such as word, excel and PowerPoint to audio and video-specific software. When choosing, you just need to consider what you feel comfortable using and what will be the most effective. For audio clips, several websites recommend Audacity to record and edit as the software is free and user friendly.

What to include?
Bloom’s Taxonomy of learning shows 6 key phases in the learning process. A learner needs to follow each stage before they can work their way up the pyramid. Focus on these stages as you create content and remember that you should not just be covering content to help the learner remember it but should also challenge the learner to analyse, evaluate and create with their newfound knowledge.
- It can be a good idea to include stories or examples from within the organisation to help make the content more relatable.
- Simulations or hands on practice can be a good way to provide an element of interaction to engage learners and ensure they are understanding the content rather than just passively clicking through!
- Quizzes at the end of each module can be a good way to check the learners’ understanding and track their progress.
- Videos and audio clips are a really good way to help break up large sections of text and cater to different learning styles. (However, don’t feel like you have to use them to cater to different learning styles as this can result in meaningless content. But on some occasions, a video can be a much easier way to get your message across. E.g. teaching someone how to safely use weights).
- It can be useful to include some discussion amongst users if possible as they can assist each other with harder content and share ideas.
- Try to build in some form of feedback. We all know how annoying it can be to not know if you have got the right end of the stick!
- Index – tell the learners what they will be learning in this section.
- Give a general overview of the topic. This is the chance to provide any necessary context.
- Provide details – go into more depth here.
- Add concrete world examples
- Make a summary – what should the learner take away from this section?, think of 5 key bullet points.
- Quiz – a short quiz (multiple choice is easiest) can ensure the learner understands this content.

Evaluation is a very important step here and provides the opportunity to further improve your program so that it meets all of the goals you identified in Step 1. Consider whether the learning objectives have been met and what the learners feel they gained from the training. Kirkpatrick’s model of evaluation can be useful here: The New World Kirkpatrick Model
This may be difficult to do as part of your internship but is important to consider in any training programs you may create in the future. On a smaller scale, it may be a good idea to get a colleague/friend/family member to trial your program before it is launched to ensure it is easy to follow and use. Use their feedback to adapt and change your program for the better.

- Remember that this is an ongoing process and not just a set of steps, even when you get to step 5 don’t be afraid to go back to step 1 and make changes!
- Use images to help break up the text, it will help make the course more engaging.
- When you are writing, make sure you use a casual tone rather than lecturing, this is an easy way to ensure you don’t sound patronising!
- Design is critical. You need to make sure your course is presented in a way that is engaging, easy to understand and not hard to look at (no one wants to be staring at an ugly screen for hours). This link provides a comprehensive guide to designing your materials, all of which is useful, but offers a particularly good section about design features. Consider these 4 principles of design:

Here are some links to some useful resources used in this section…
How to Create an Effective Training Program: 8 Steps to Success
5 Steps To Building Stronger Employees: Create A Training Program That Works
How to Create an Online Course in 5 Easy Steps
How to create an effective training programme
Developing an Employee Training Program: Step-by-Step Guide
How to Create a Training Program for Employees in 5 Easy Steps
The Beginners Guide to Online Training – this offers an incredibly comprehensive guide and will probably be able to answer any questions you may have!